TL;DR
If you want to see photos from the Personal Spaces of multiple users in the Synology Photos Timeline View, this post includes a relatively straightforward solution that worked for me.
Background
I absolutely LOVE my Synology DiskStation NAS! My Synology NAS is a DS1817+ model that I bought in late 2017, and it quickly became my favorite home server solution. I mainly use it for backup, surveillance, and media sharing.
When my Synology DiskStation eventually needs to be replaced, I plan to purchase the current version of an almost identical unit. My only change is that I’ll “downgrade” to unit that holds 4 or 5 disks, instead of the 8-disk unit I have now (sitting with 4 empty bays).
My favorite feature is Synology Photos. I love that I can view photos and videos on all of my devices, including on AppleTV, using a native app. My wife and I often use our TV or iPads to look at photos from when our kids were little, or from past family vacations. But there’s always been one issue…
Problem
The essence of the issue is that I want to view photos taken by multiple users (family members) in ONE place.
I should start by mentioning that we capture photos/videos from our phones or tables using the Synology Photos app’s Backup feature. It copies files to our own respective Personal Space folders (shared as /homes/Username/Photos). However, I’ve always stored photos from our digital cameras in the default Synology Photos Shared Space folder (named /photo, by default). This approach means that our family’s photos and videos live in locations that aren’t all accessible in Synology Photos under a single user account.
For quite a few years, most of the family photos worth seeing were taken by our digital cameras, so we were mostly happy only viewing photos from the Shared Space. We didn’t really miss seeing photos from the Personal Space folders because most of the photos taken by our phones or tablets were usually of poor quality and often taken when we also had a digital camera with us (for example, on family vacations my wife often took pictures with her phone while I used the digital camera at the same time).
Over time, however, our mobile photos have increased in quality and quantity and were often taken at times and in places when we didn’t have a proper camera with us. We’ve even taken several vacations with only our phones and no camera! I finally reached a point where I realized we were missing a lot by not having a single place to view all of our photos, regardless of which user or device took them.
To understand the problem, here are some details about Synology Photos and the way I’m using it:
- Synology Photos includes two “spaces”: Personal Space and Shared Space. Personal Space includes photos owned by the current user and Share Space shows photos shared with all users (and living in a specific folder location).
- Synology Photos displays photos by Folder location or by Timeline view. The Timeline view shows photos (and videos) from all of the folders in the source (Personal or Shared).
- Photos from each of our devices (each of my family members’ Phones) are backed up to our respective Personal spaces using the Synology Photos mobile app and its default settings. For example, photos from my Phone are backed up to the folder
/homes/Mark/Photos/MobileBackup/iPhone. - Photos from my digital camera are stored the root folder of the Synology Photos Shared Space (the path on the NAS is
/photo, for what that’s worth). - The Personal Space feature only shows photos from the folder belonging to the currently logged-in user. Furthermore, users are not able to browse to the Personal Spaces of other users.
- We prefer to keep Synology Photos logged in with only one user. On our personal devices, we use our respective user accounts. And on our AppleTVs, we use a specific user account that I created specifically for viewing Photos.
To summarize, I can’t see all of the family’s photos in a single Timeline view while using a single account. Switching users in Synology Photos is possible, but it’s a bit of a headache because it requires sharing passwords as well as knowing which user account owns the desired photos.
I’ve experimented with several different approaches over the years to make Personal photos visible across users. Synology Photos includes a Share feature, which works very well for smaller numbers of photos or albums. But the Shared Photos can’t be viewed in a Timeline view. This does not work well with large numbers of photos (we have over 10,000 from over 15 years of my wife’s mobile photos), primarily due to the performance of the system when trying to render so many photos in a single view at once.
I recently became motivated to make another attempt, and this time I found a solution that works for me, but with a few minor tradeoffs.
Solution
The short version of the solution is that I use symlinks to create shortcuts from each of the users’ Photos folders into Synology’s Shared Space folder. This makes Synology Photos think that all of these photos live in the Shared Photos folder, even though the one-and-only copy of each photo actually remains in its respective Personal Space folder. The result is that the Timeline view of the Shared Space now includes ALL photos – personal and shared. This is exactly what I want to see!
Here’s how I did it:
CAVEAT: At the time of this writing, my version of Synology DiskSpace Manager is 7.2.2-72803, and my version of Synology Photos is 1.8.0. If you’re using different versions, then your steps may differ from mine.
- Make sure your Shared Photos live in a custom folder. I was previously using the default Synology Photos Shared Space folder (
/photo) as the physical path where all of my shared photos were stored. I moved all of my photos to a new custom folder:/JohnstonPhotos - Be sure that your default Synology Photos Shared Space folder (
/photo) does not have any files! From this point forward that folder should only be used to host the symlinks that you’ll create. - Create empty folders in the Shared Space folder for each of the folders you plan to add. This includes both Personal folders and any that were previously Shared. For example, if I want to add my personal MobileBackup folder to the Shared Space, I’ll create this empty folder:
/photo/Mark/MobileBackup. The name of the newly-created folder doesn’t really matter, just as long as you end up with a separate folder for each source folder. - Add a Task that runs on Boot Up that creates the symlinks for folders from both Shared and Personal Spaces. For example, I have
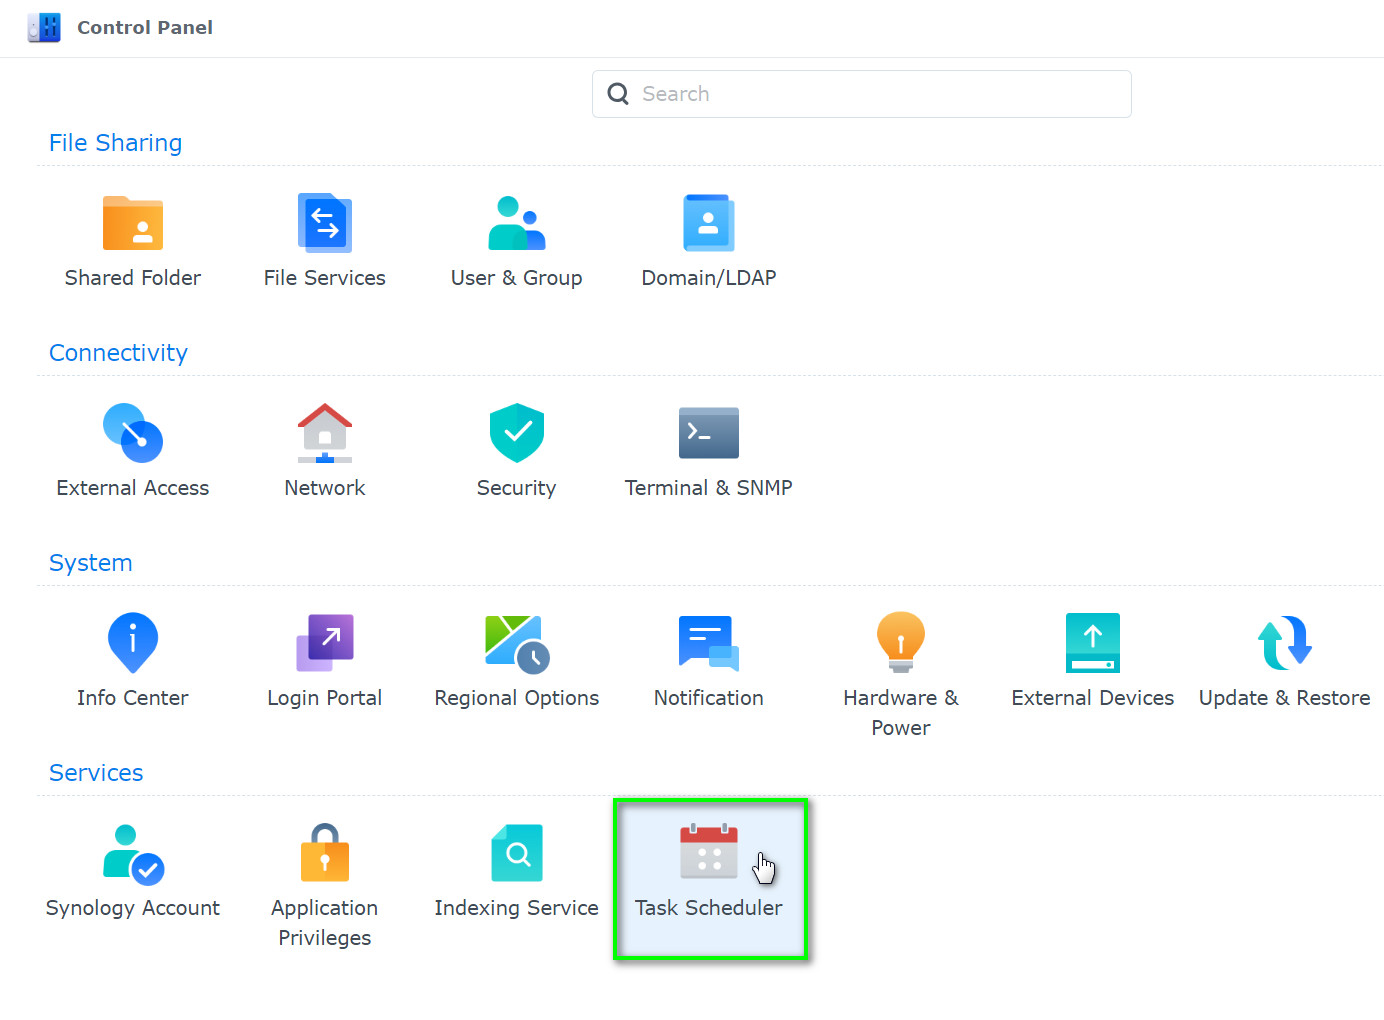
/JohnstonPhotos/Keepersand/homes/mark/Photos/MobileBackup. These need to be mounted as/photo/Keepersand/photo/Mark/MobileBackup. Here are the steps:- In the Synology DiskStation Manager, open Control Panel -> Task Scheduler.
- Find the full path of the folders you’d like to map. I’ve looked for a simple way to find this in the DSM user interface, but I didn’t find anything. Admittedly, this a geeky, behind-the-scenes step, but there are plenty of resources available to help. At a high level, you’ll need to do this:
- Connect to Synology using SSH
- When you connect, the current folder will be your user home folder (~). There’s probably a simpler command for this, but the way I would do it is to type
cd .. <ENTER>to move up a folder until you reach the root path (/). Then you can typels <ENTER>to list the contents of the root folder. One of them should be named volumeX (where X is a number – most likely volume1). THAT’s the root folder where your shared folders live.
- So now that you know the volume name, you can use the full paths to your shared folders like this:
/volume1/JohnstonPhotos/Keepers, or/volume1/homes/Mark/Photos/MobileBackup. - Construct the commands that establish the symlinks using the following syntax:
mount --bind <SourceFolderPath> <TargetPathInPhotoShare>
So that will look like this:mount --bind /volume1/JohnstonPhotos/Keepers /volume1/photo/Keepers
mount --bind /volume1/homes/mark/Photos/MobileBackup /volume1/photo/PersonalPhotos/Mark/MobileBackup
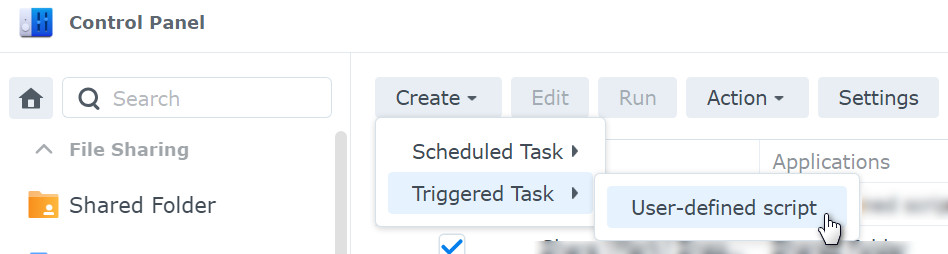
Note: You’ll need a mount command (each on its own line) for every folder that you’re mapping. For example, I have a total of 9 mount commands in my task due to the number of folders that I’m mapping. - Create a new Triggered Task with a User-defined script
- Use the following settings:
- General Tab:
- Task: Map Photo Shares (or any name you choose)
- User: root
- Event: Boot-up
- Pre-task: (empty)
- Enabled: checked

- Task Settings Tab:
- User-defined script: Add the script that you constructed from the steps above. This example shows 2
mountcommands. Yours may be longer, depending on the number of folders.
- User-defined script: Add the script that you constructed from the steps above. This example shows 2
- General Tab:
- Click OK to finish creating the Task. It will run when your Synology DiskStation boots, but you can run it manually to test it. (Select it and click the “Run” button. You’ll know it worked when you see the same files and folders in the target path that are in the source path.
- In the Synology DiskStation Manager, open Control Panel -> Task Scheduler.
- Create a second Task, except this one will be a Scheduled Task with a User-defined script
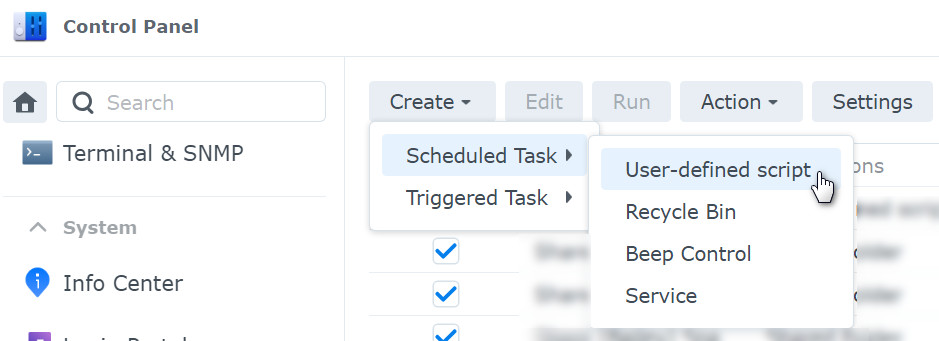
This task is to trigger the re-indexing of the Shared Photos. This is necessary because we are no longer storing files directly in that folder, and Synology Photos won’t be updated unless we trigger it with a task.- Use the following settings:
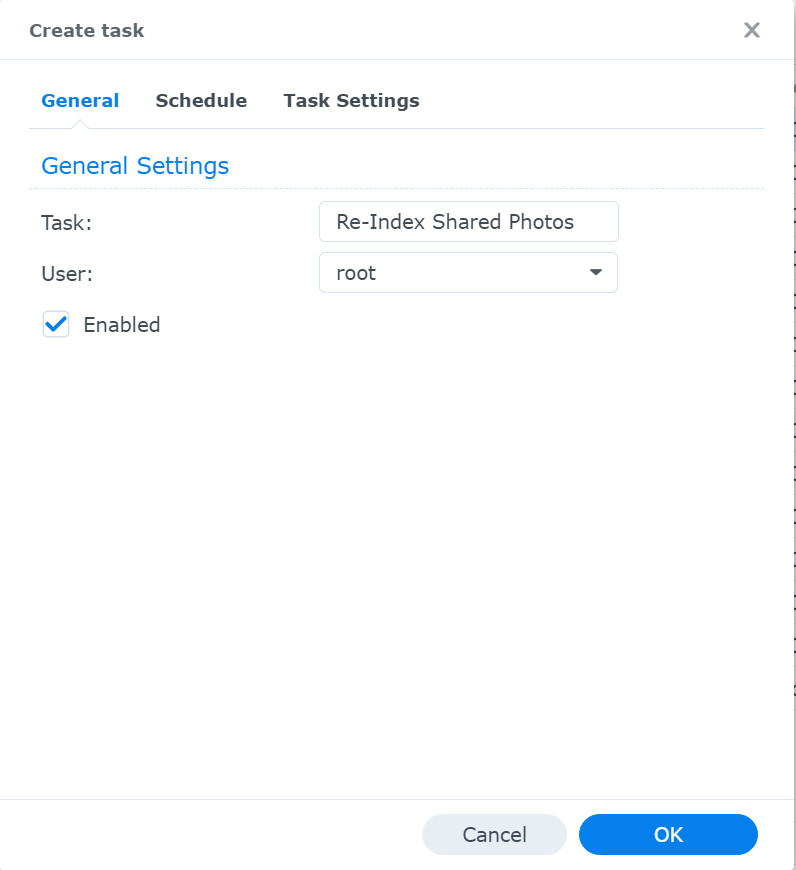
- General Tab:
- Task: Re-Index Shared Photos (or any name you choose)
- User: root
- Enabled: checked
- Schedule Tab:
- Run on the following days: selected
- Repeat: Daily
- Start time: 00:00
- Continue running within the same day
- Repeat: Every 12 hours (or whatever interval you prefer)

- Task Settings Tab:
- User-defined script:
synowebapi --exec api=SYNO.FotoTeam.Index method=reindex version=1 runner=YourAdminAccountUsername type=basic
This is the command that triggers re-indexing of the photos. For the runner parameter, you can use any username that has admin permissions.
- User-defined script:
- General Tab:
- Click OK to finish creating the Task.
- Use the following settings:
For me, this solution solves all of my basic problems. However, there are a few tradeoffs to consider:
- There is currently no filter that allows you to exclude photos by user or location. Any photo or video that Synology Photos backs up from devices (and is included in our list of Personal Folders to be shared) will be viewable as a Shared Photo. This means that my 15-year-old son’s hundreds of memes or my 12-year-old daughter’s dozens of selfies are now displayed along with my carefully curated and edited vacation photos. There are several ways I could avoid this, including just not including their Personal Folders in the Shared Photos list. For now, I’m OK with this.
- When I was using the Shared Photos folder directly, I could immediately see newly created photos in the Synology Photos app. With this approach, the photos must be re-indexed first (using the second Task that was created in the steps above). This is not usually a big deal, since I have my Re-indexing task scheduled to run twice a day. I could always set it to run more frequently. My only hesitation to running it more frequently is that I haven’t found a way to know exactly how long it takes to run.
Despite these caveats, I’m very happy with this solution. I can now scroll through the timeline view and see photos/videos from all of my family’s devices grouped together, while only keeping one copy of each file.
If you have any suggestions or additional thoughts, please reach out. I’d love to hear from you!
